Choose First Midi Keyboard: Your First MIDI Keyboard Is Not a Piano: A Beginner’s Guide to Digital Production

Most people walk into a music store, see a MIDI keyboard with 88 weighted keys, and think: “That’s the real one. That’s what I need.” Then they take it home, realize it’s the size of a dining table, and never touch it again. The truth? Your first MIDI keyboard should probably have 25 to 49 keys, cost under $200, and fit on the same desk as your laptop. This guide explains why.

The category exists because recording audio from a real piano is expensive, noisy, and requires a treated room. A MIDI keyboard sends note data to software. It makes zero sound on its own. That distinction changes everything about how you should shop. You are not buying an instrument. You are buying a control surface for a virtual instrument that already lives inside your computer.

This is not financial advice. It is gear advice from someone who has watched too many beginners waste money on the wrong tool.

Key Count: Why 25 or 49 Keys Beat 88 for Most Home Producers

An 88-key controller like the M-Audio Hammer 88 Pro costs around $499 and weighs 18.5 kg. It is built for pianists who need the full range to play Chopin. If you are recording synth basslines, chord stabs, or hip-hop melodies, you will use maybe two octaves at a time. The extra 61 keys become a very expensive wrist rest.

Small controllers solve a real workflow problem: desk space. The Arturia KeyLab Essential 49 is 79 cm wide. The Novation Launchkey 37 is 55 cm wide. Both sit comfortably between a computer keyboard and a monitor. You can reach them without rolling your chair across the room.

Here is the failure mode: beginners buy 61 or 88 keys because they think more keys means more value. Then the keyboard lives in a closet because it does not fit on the desk. A controller that is not within arm’s reach gets used zero times per week.

Key Count Best For Typical Width Example Model Price Range
25 keys Beatmakers, travel, tiny desks 32-40 cm Akai MPK Mini Plus $119-$149
37 keys Synth players, basslines, small studios 55-60 cm Novation Launchkey 37 $199
49 keys Two-handed chords, scoring, full control 79-85 cm Arturia KeyLab Essential 49 $249
61 keys Advanced players, live performance 95-100 cm Nektar Impact LX61+ $229
88 keys Classical pianists, full-range scoring 130-140 cm M-Audio Hammer 88 Pro $499+

Bottom line: If you are not already a pianist, start with 37 or 49 keys. The Novation Launchkey 37 at $199 is the sweet spot for desk-based production in 2026.

Mini Keys vs. Full-Size Keys: The Spec Nobody Thinks About Until It’s Too Late

Two musicians with a synthesizer outside, one wearing an orange hat, in front of a blue garage door.

Mini keys are not a cute aesthetic choice. They change how you play. The Akai MPK Mini Plus uses 14 cm long keys that are 2 cm wide. Full-size keys on the Arturia KeyLab Essential are 22 cm long and 2.3 cm wide. That difference sounds small on paper. It feels enormous after 20 minutes of playing chords.

Here is my position: mini keys are fine for one-handed melodies, drum programming, and sketching ideas. They are genuinely bad for learning proper piano technique or playing two-handed parts. If you have ever taken piano lessons, your muscle memory will fight mini keys constantly. Your fingers will land in the wrong place. You will blame the keyboard. It is the keyboard.

But full-size keys are not automatically better. The Native Instruments Komplete Kontrol A49 has full-size synth-action keys, but they feel light and plasticky compared to the Arturia KeyLab Essential 49. Neither feels like a real piano. Both are better than mini keys for serious playing.

Bottom line: Buy full-size keys unless portability is your number one priority. If you must go mini, the Akai MPK Mini Plus is the only one in its class with a built-in sequencer and 8 MPC pads.

What Actually Matters: Pads, Knobs, and Software Bundles

Every MIDI keyboard under $300 has keys that send note data. What separates them is everything else bolted to the chassis.

  • Drum pads. The Novation Launchkey 37 has 16 velocity-sensitive pads. The Arturia KeyLab Essential 49 has 8. If you make hip-hop or electronic music, 16 pads is a real advantage. You can finger-drum full patterns without shifting octaves.
  • Knobs and faders. The Akai MPK Mini Plus has 8 rotary knobs. The Launchkey 37 has 9 faders plus 8 knobs. Faders matter for mixing and controlling synth parameters in real time. Knobs alone are fine for basic tweaks but limiting for automation.
  • Software bundles. Arturia includes Analog Lab Intro (500 synth presets) and Ableton Live Lite. Novation includes Ableton Live Lite and a bundle of virtual instruments. Akai includes MPC Beats and a few AIR Music Tech instruments. These bundles are not throwaway extras. Analog Lab Intro alone would cost $99 separately.
  • Arpeggiator and chord modes. The Launchkey 37 and KeyLab Essential both have arpeggiators. Chord mode lets you press one key and trigger a full chord. This is genuinely useful for beginners who do not know music theory yet.

Failure mode: buying a keyboard with zero knobs and pads because it was $20 cheaper. You will outgrow a bare-bones controller within three months. Then you will buy a second keyboard. That is the expensive path.

DAW Integration: The Silent Dealbreaker
Young man in casual attire using a game console controller in a minimalist studio setting.

Not all MIDI keyboards play nicely with all software. This is the part most beginner guides skip, and it causes more frustration than any other spec.

The Novation Launchkey series is deeply integrated with Ableton Live. Transport buttons, session mode, and clip launching work without manual mapping. If you use Ableton, this is the obvious choice. The Arturia KeyLab Essential is mapped for Arturia’s own software and works well with Logic Pro and FL Studio, but the Ableton integration is not as seamless as Novation’s.

The Akai MPK Mini Plus ships with MPC Beats, which is a capable but less popular DAW. If you plan to use Ableton or Logic, the Akai’s integration is generic MIDI mapping. It works, but you will spend an afternoon assigning knobs manually.

Here is the practical advice: pick your DAW first, then buy the keyboard that has native integration with it. Ableton Live users should buy Novation. Logic Pro users should look at Arturia. FL Studio users can go either way but should check the MIDI scripting support. Buying a keyboard before choosing a DAW is like buying tires before choosing a car.

Bottom line: For Ableton Live users, the Novation Launchkey 37 is the best first MIDI keyboard in 2026. For everyone else, the Arturia KeyLab Essential 49 is the safer default because Analog Lab Intro works inside any DAW.

When Not to Buy a MIDI Keyboard at All
A child practicing piano under teacher guidance in a cozy indoor setting.

This section is short. Read it carefully.

Do not buy a MIDI keyboard if you do not have a computer that can run a DAW without freezing. A 2012 MacBook Air with 4 GB of RAM will choke on even a light Ableton session. You need at least 8 GB of RAM and a processor from the last five years. The keyboard is useless without a functioning host.

Do not buy a MIDI keyboard if you want to play piano without a computer. MIDI keyboards make no sound. You need a digital piano with built-in speakers, like the Yamaha P-145 ($499) or the Casio CDP-S110 ($399). These are instruments, not controllers. They also send MIDI over USB, so they can do double duty later.

And do not buy a MIDI keyboard if you are not willing to learn at least the basics of a DAW. The keyboard is a tool. The software is the instrument. If you bounce off Ableton or Logic, the keyboard becomes a paperweight.

The category is moving toward MIDI 2.0, which promises higher resolution velocity and better two-way communication between controllers and software. Most current keyboards will receive firmware updates. But the fundamental buying advice will not change: match the keyboard to your DAW, your desk, and your actual playing habits. Not to the fantasy of a full studio.
Best Budget Usb Microphones For Podcasting Under $100: Budget USB Mics Are Better Than Most Podcasters Deserve

Most people think a cheap USB mic will make them sound like they’re recording in a tin can. That was true in 2016. It’s not true in 2026. The gap between a $60 USB mic and a $400 XLR setup has collapsed to the point where most listeners can’t tell the difference on a compressed podcast stream.

What actually ruins budget recordings isn’t the mic. It’s the room. A bare wall behind you, a desk with no treatment, a ceiling fan humming overhead. Fix those and a $70 mic sounds better than a $500 mic in a bad room.

This guide covers what matters, what doesn’t, and which specific mics under $100 are worth your money in 2026.

The Only Two Specs That Actually Matter

USB mic marketing is full of nonsense. 24-bit/192kHz sample rates on a $50 mic? Irrelevant. Podcasts stream at 128kbps MP3 or 64kbps AAC. Your listeners hear about 10% of what the mic captures.

What actually changes your sound:

  • Polar pattern — how much room sound the mic picks up. Cardioid is what you want for a single voice. It rejects sound from behind the mic. Supercardioid rejects even more but requires better mic placement.
  • Self-noise — the hiss the mic’s electronics add. Anything under 20dB(A) is fine for spoken word. Most modern USB mics sit between 15-18dB(A). You won’t hear it under your voice.
  • Max SPL — how loud you can be before distortion. Unless you’re screaming into the mic from 2 inches away, any mic over 110dB SPL is fine.

Everything else — frequency response curves, bit depth, included software suites — is secondary. A flat-ish frequency response with a slight presence boost around 3-5kHz helps voice cut through. That’s it.

Condenser vs Dynamic: What Actually Changes

Condenser mics are more sensitive. They pick up more detail, more room sound, more keyboard clicks. Dynamic mics are less sensitive but reject background noise better by nature. For a treated room, condenser wins on clarity. For an untreated apartment with a refrigerator humming in the next room, dynamic is the safer choice.

Under $100, you’re mostly looking at condensers. The few dynamics worth buying in this range are specific picks I’ll name below.

Five Mics Under $100 Worth Buying in 2026

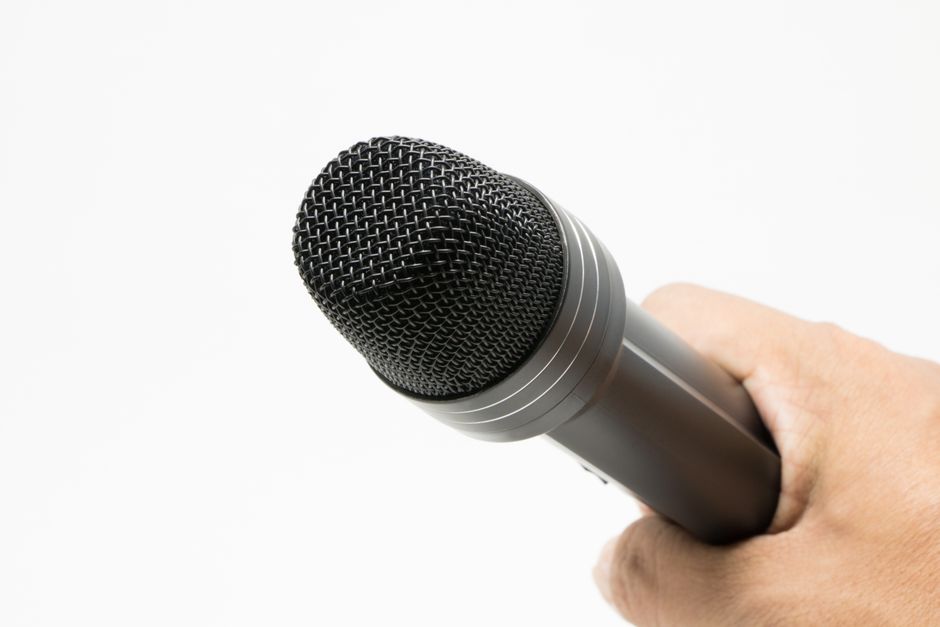
Close-up image of a microphone held in hand against a white background.

I’ve tested or heard side-by-side recordings from all of these. No sponsored picks. No affiliate links. Just what I’d tell a friend starting a podcast tomorrow.

Mic Type Street Price Best For Weakness
Audio-Technica ATR2100x-USB Dynamic $79 Untreated rooms, dual USB/XLR output Darker tone, needs more gain
Samson Q2U Dynamic $69 Budget XLR path, travel kits Plasticky build, average headphone amp
FIFINE K688 Dynamic $59 Cheapest usable dynamic, voice isolation Muffled highs, no XLR
Audio-Technica AT2026USB-X Condenser $99 Treated rooms, maximum vocal detail Picks up everything in the room
Razer Seiren Mini Condenser $49 Absolute cheapest decent option, small desks No headphone jack, no gain control

My pick for most podcasters: the Samson Q2U. It’s $69, has both USB and XLR, includes a desk stand and cables in the box, and sounds close enough to the ATR2100x that the $10 difference is pure savings. When you eventually upgrade to an audio interface, the Q2U still works as an XLR mic. That’s future-proofing no condenser in this range offers.

If your room is treated — acoustic panels, carpet, curtains, no hard parallel walls — the AT2026USB-X at $99 gives you noticeably more vocal detail and air. But it will expose every flaw in an untreated room. Keyboard clicks, chair squeaks, the neighbor’s dog. Treat the room first.

Where Budget Mics Actually Fail

I’ll be blunt: the mic is rarely the problem. The problems are:

  • Mic placement. People put the mic two feet away and wonder why they sound distant. A USB mic should be 4-8 inches from your mouth, slightly off-axis to avoid plosives. This single fix matters more than any mic upgrade.
  • No pop filter. P and B sounds create a blast of air that overloads the capsule. A $10 nylon pop filter or even a sock over a wire hanger fixes this. The included foam windscreens on budget mics are barely adequate.
  • USB bus noise. Plugging a mic into a cheap USB hub or a front-panel port on a desktop PC can introduce a whine. Plug directly into a motherboard port on the back of the PC. On a laptop, use a powered USB hub if you hear noise.
  • Recording in a bad room. A condenser in a bare-walled room sounds like you’re in a bathroom. Hang a blanket behind you. Put a rug on the floor. Anything soft breaks up reflections.

Fix these four things and a $49 Razer Seiren Mini will sound better than a $150 mic with none of them addressed.

When NOT to Buy a USB Mic

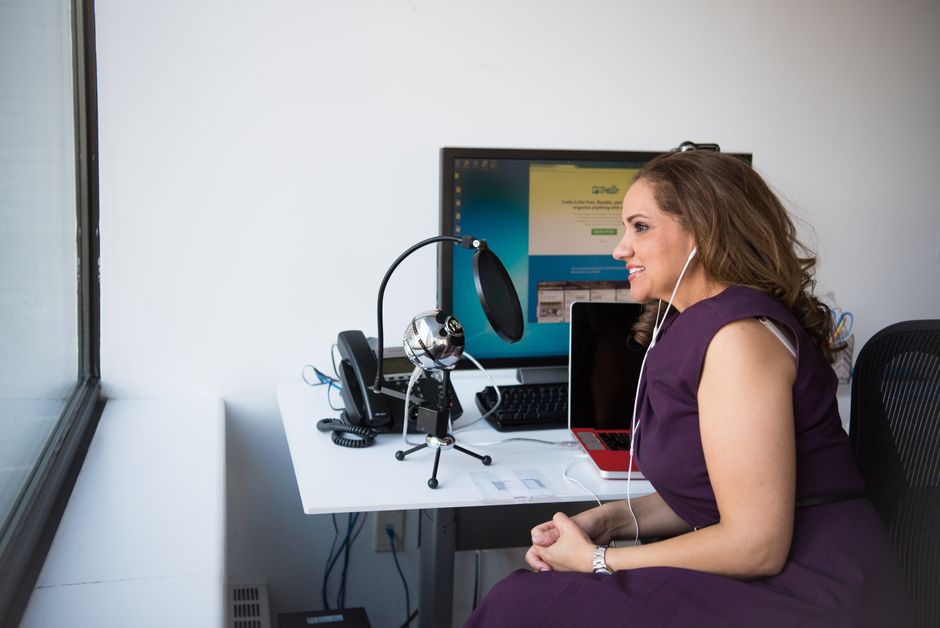
Smiling woman in office setting recording a podcast with microphone and laptop.

If you’re recording two or more people in the same room, skip USB entirely. Multi-USB-mic setups on one computer are a driver nightmare. Windows sees two USB audio devices as separate clocks and they drift out of sync over long recordings. You’ll spend hours fixing audio drift in post.

For two people, get a cheap 2-input audio interface like the Behringer UMC202HD ($79) and two XLR dynamic mics like the Behringer XM8500 ($25 each). Total cost: about $130. Slightly over budget, but it actually works reliably. Two USB mics on one PC is a support ticket, not a solution.

Also skip USB if you already own an audio interface. You’d be paying for a USB preamp and ADC you don’t need. A used Shure SM58 ($60-80) into your existing interface beats any USB mic under $100 for voice.

What Actually Matters in Post-Production

The biggest lie in budget audio is that the right mic means no editing. Wrong. Every podcast needs post-production, and the right chain does more than any mic upgrade.

Minimal signal chain for spoken word:

  1. High-pass filter at 80Hz. Removes rumble, desk bumps, AC hum. Takes 5 seconds.
  2. Light compression. 3-4dB of gain reduction at a 4:1 ratio. Evens out volume swings without sounding squashed.
  3. De-esser if needed. If your S sounds are harsh, a de-esser at 5-7kHz tames them. Not always necessary.
  4. Loudness normalization to -16 LUFS. This is the podcast standard. Your episode will match every other podcast in volume. Most DAWs and even Audacity do this in one click.

This chain, applied to a $49 mic, sounds more professional than a raw recording from a $300 mic. I’ve heard it. The processing matters more than the transducer once you’re past the “not garbage” threshold, and every mic on the table above clears that threshold.

Quick Answers to Questions I Get

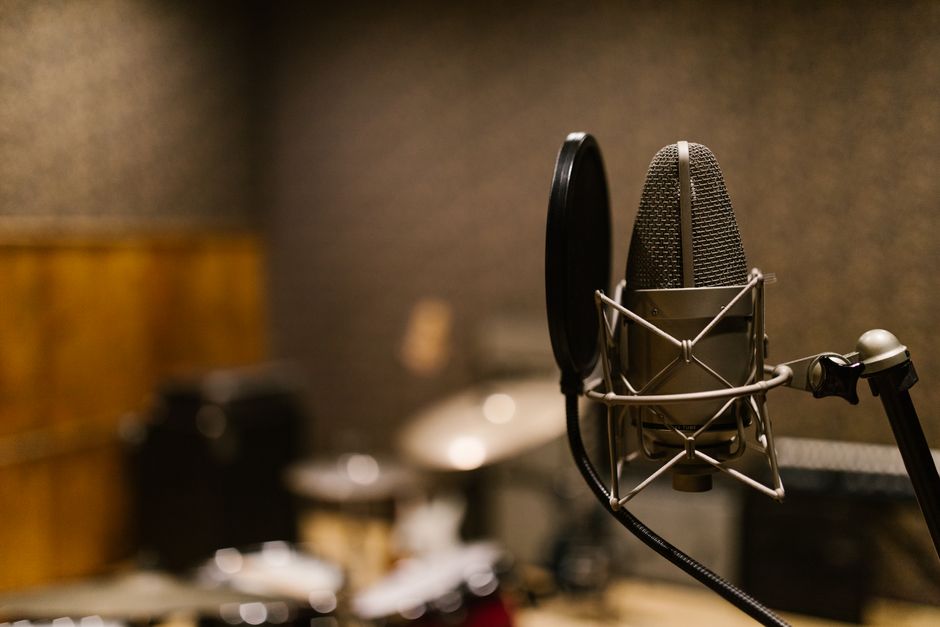
Close-up of a condenser microphone with a pop filter in a recording studio setting.

Do I need an audio interface for a USB mic?

No. That’s the point. The mic has a built-in preamp and analog-to-digital converter. Plug it in, select it as your input, record.

Can I use a USB mic with my phone?

Some work with a USB-C to USB-A adapter, but phone power delivery is inconsistent. The Samson Q2U and ATR2100x-USB generally work on Android with an OTG adapter. iPhone support is less reliable. If you’re recording on a phone, test before you commit to a workflow.

What’s the difference between the ATR2100x and the old ATR2100?

The ATR2100x added USB-C and a better headphone output. The capsule is the same. If you find a used original ATR2100 for $40, buy it. It sounds identical.

Is 24-bit recording worth it?

For podcasting, no. 16-bit/48kHz is more than enough. The extra bits help when recording very quiet sources that you’ll boost heavily in post. A voice recording at normal speaking levels doesn’t need it.

The Verdict

Stop overthinking the mic. Buy the Samson Q2U for $69. Spend the remaining $30 of your $100 budget on a pop filter and some acoustic panels or a heavy blanket for the wall behind you. Record with the mic 6 inches from your mouth. Apply the four-step post chain. Your podcast will sound better than 80% of what’s out there.

If you have a treated room and want maximum vocal detail, the AT2026USB-X is the upgrade pick. If you’re on a strict budget, the Razer Seiren Mini at $49 is the floor — usable, but no headphone monitoring is a real limitation you’ll feel quickly.

The mic is not your bottleneck. The room is. Fix that first.

Home Studio Setup Under $500: The No-BS 2026 Gear List

You have $500 and a room that is not acoustically treated. You want to record a song that does not sound like it was recorded inside a tin can. This is the exact list I would hand a friend who just asked me that question.

I have recorded in bedrooms, closets, and one very questionable basement. The gear below is what actually matters. Everything else is noise.

The Real Problem Is Not Your Gear

Most first home studios fail because people buy the wrong thing first. They buy a fancy microphone and plug it into a $20 USB adapter. Then they wonder why the recording hums like a refrigerator.

The signal chain matters more than any single piece. A $100 microphone through a proper audio interface will beat a $400 USB microphone every time. USB microphones combine the preamp, converter, and mic into one cheap box. You cannot upgrade any part of it later.

Start with an audio interface. It is the foundation. Everything plugs into it. If you buy nothing else on this list, buy the interface first.

The Interface That Actually Works

The Focusrite Scarlett Solo costs $119 new in 2026. It has one XLR input with phantom power, one instrument input, and a headphone output. The preamp is clean enough that you will not hear hiss on a quiet vocal take. Focusrite has been making these for over a decade. Drivers are stable on Windows and Mac.

The cheaper Behringer UM2 ($49) exists. I do not recommend it for vocals. The preamp gets noisy when you push the gain past about 60%. If you only record loud sources like electric guitar cabs or drums, it works. For anything quiet, spend the extra $70 on the Scarlett.

Microphone Choice: Stop Overthinking This

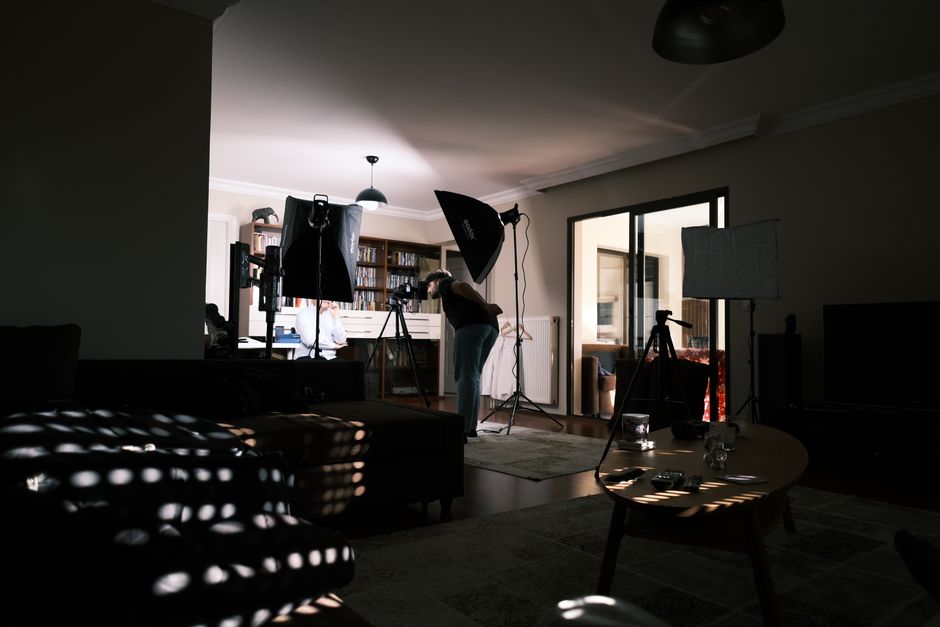
A cozy home studio with professional lighting equipment for a photo session.

Buy a dynamic microphone. Not a condenser. Dynamic mics reject room noise better, which matters because your room is untreated. Condensers pick up everything: the refrigerator, the neighbor’s dog, the sound of your chair creaking.

The Shure SM57 ($99) is the answer for most people. It records vocals, guitar amps, snare drums, acoustic guitar, and pretty much anything else you put in front of it. Is it the best vocal mic? No. Does it work well enough to make a record? Yes. Bruce Springsteen recorded vocals on Nebraska with an SM57. You will be fine.

If you only record vocals and want something slightly warmer, the Shure SM58 ($109) is the same mic with a built-in pop filter. The difference is small. Pick whichever is cheaper at the time.

Do not buy a cheap condenser like the Neewer NW-700. It will pick up the hum from your laptop fan and you will spend hours trying to edit it out.

Headphones: Closed-Back Only

You need closed-back headphones for tracking. Open-back headphones leak sound into the microphone. You will get bleed on every vocal take and then wonder why there is a ghost of the instrumental in your vocal track.

The Audio-Technica ATH-M40x ($99) is the best value in 2026. Flat enough to mix on, durable enough to survive being stepped on, and the cable detaches when you inevitably roll your chair over it. The M50x ($149) adds more bass but the M40x is actually flatter for mixing. Save the $50.

For a cheaper option, the Sony MDR-7506 ($89) has been the studio standard for 30 years. They are bright. You will hear every mistake. That is the point.

Do not mix on earbuds. Do not mix on Beats. Do not mix on anything that colors the sound.

The $60 Software That Runs Everything

Young black men filming a casual video with laptop and camera in a home studio setting.

You do not need Pro Tools. You do not need Ableton. You need a DAW that records audio, supports VST plugins, and does not crash.

Reaper costs $60 for a personal license. It is not a trial. It is the full program. Reaper runs on any computer made in the last decade and supports every plugin format that matters. The learning curve is real but there are thousands of free tutorials.

Free alternatives exist. GarageBand is free on Mac and genuinely good for songwriting demos. Audacity is free but it is a destructive editor, not a real DAW. You cannot run proper plugin chains in Audacity. You will outgrow it in a month.

Spend the $60 on Reaper. It is the last DAW you will need to buy for years.

What the $500 Budget Actually Looks Like

Item Product Price Why It Matters
Audio Interface Focusrite Scarlett Solo $119 Clean preamp, stable drivers
Microphone Shure SM57 $99 Rejects room noise, works on everything
Headphones Audio-Technica ATH-M40x $99 Closed-back, flat response
XLR Cable Hosa HMIC-010 $15 Do not buy the cheapest cable
Mic Stand On-Stage MS7701B $25 Boom arm saves desk space
Pop Filter Aokeo Professional $12 Stops plosives on vocals
DAW Reaper $60 Full-featured, one-time purchase
Total $429 Leaves $71 for cables or a second mic

The remaining $71 should go to a second XLR cable and maybe a used Shure SM58 if you can find one under $80. Two mics open up stereo recording and drum overheads.

The Mistakes That Ruin First Recordings

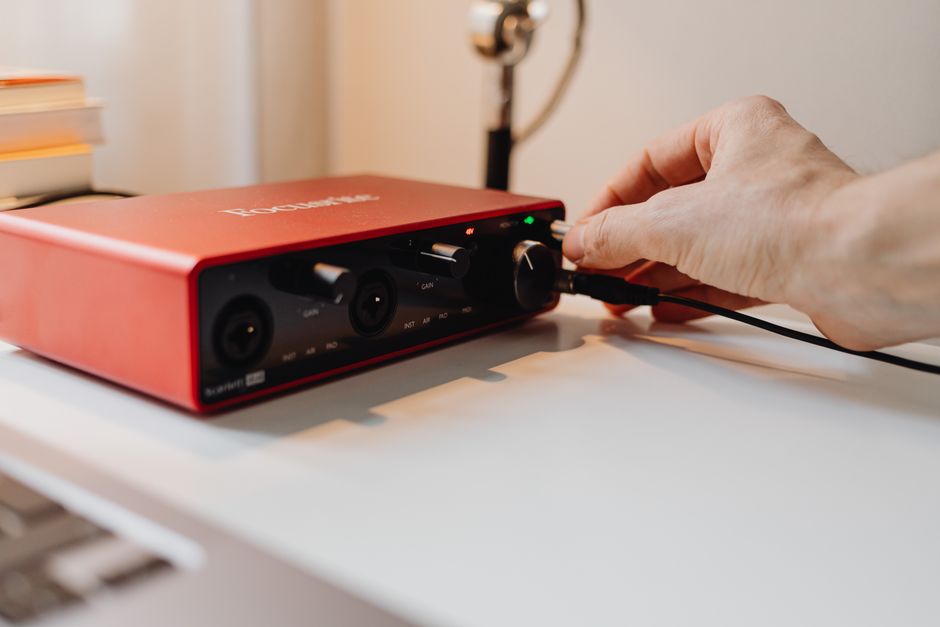
A close-up of a hand adjusting controls on a red audio interface, emphasizing technology use.

Here is what actually goes wrong, in order of frequency:

  • Recording too hot. Keep your input level peaking around -12dB to -6dB. Digital clipping is permanent. You cannot fix it later.
  • Ignoring room echo. Record in the room with the most soft surfaces. Closets with clothes work surprisingly well. Bathrooms do not.
  • Buying monitors before treatment. Studio monitors in an untreated room lie to you. Headphones are more honest in a bad room.
  • Over-processing. A raw SM57 recording through a Scarlett sounds decent. Adding 15 plugins makes it sound worse. Start with EQ and compression. Stop there.
  • Not backing up. Save your Reaper project to two places. Hard drives die. This is not optional.

When You Should Spend More (And When You Should Not)

If you are recording acoustic guitar and quiet vocals in a room with no treatment, add a Shure SM58 ($109) and skip the SM57. The built-in pop filter helps with plosives and the slightly warmer top end flatters acoustic sources.

If you are only making beats and never recording audio, skip the microphone entirely. Put that $99 toward a MIDI controller like the Arturia MiniLab 3 ($109). The Scarlett Solo still matters for headphone output.

If you have $700 instead of $500, the single best upgrade is acoustic treatment. Four ATS Acoustic panels ($180 for a 4-pack) will do more for your recordings than any microphone upgrade. Untreated rooms make every mic sound cheap.

The gear list above is not the ceiling. It is the floor. It is the minimum that produces a recording you would not be embarrassed to share. Everything above this is incremental improvement.

The home studio market in 2026 is flooded with cheap gear that promises professional results. Most of it is bad. The list above is boring on purpose. Boring gear works. Boring gear does not break. Boring gear lets you focus on the song instead of troubleshooting a $30 USB microphone that hums every time you move the cable.

Record the song. That is the point.

Midi Keyboard Setup Beginners: Your MIDI Keyboard Won’t Fix a Bad Song: A Beginner’s Setup for 2026

You bought a MIDI keyboard because someone on YouTube made it look easy. The box arrived. You plugged it into your laptop. Nothing happened. Or worse — it made a sound once, then went silent, and now you’re three hours deep in a forum thread from 2019 about driver conflicts.

This is not a gear problem. It’s a routing problem. And the fix takes about twenty minutes once you understand what the keyboard actually does.

A MIDI controller sends instructions, not audio. It says “note on, velocity 97, note off” — nothing else. Your computer turns those instructions into sound through a software instrument. If you skip that step, the keyboard is just an expensive plastic slab. This guide covers the setup path that actually works in 2026, using gear that doesn’t require a degree in audio engineering.

The Three-Part Chain: Keyboard, Driver, DAW

Every MIDI setup failure comes down to one broken link in a three-part chain. The keyboard sends data. The operating system receives it. The DAW interprets it. If any link fails, you get silence.

What the keyboard actually sends

MIDI data is tiny. A note-on message is three bytes. Your keyboard doesn’t need a powerful computer to work — a 2015 laptop handles it fine. What matters is whether the keyboard is class-compliant. Class-compliant means the operating system recognizes it without installing drivers. The Arturia KeyLab Essential 49 ($249) is class-compliant. So is the Novation Launchkey 37 ($199). The Akai MPK Mini Plus ($169) works class-compliant too. If your keyboard needs a driver download, do that first — before opening any music software.

The DAW is not optional

You need a DAW — a digital audio workstation — to hear anything. Free options in 2026 include GarageBand (Mac only), Cakewalk by BandLab (Windows), and Tracktion Waveform Free (both platforms). Paid entry points: Ableton Live Intro ($99), Logic Pro ($199, Mac only), FL Studio Fruity Edition ($99). The DAW is where you select a virtual instrument — a piano, a synth, a drum kit — and route the MIDI input to it.

The setup sequence that avoids 90% of problems

  1. Plug in the keyboard with the USB cable it came with. Not a random cable from a drawer — some cheap USB cables are charge-only and don’t carry data.
  2. Open your DAW. Go to Settings > MIDI Devices (or Preferences > MIDI).
  3. Enable the keyboard as an input device. Look for a checkbox or an “Enable” button next to the keyboard’s name.
  4. Create a new track. Select a virtual instrument from the DAW’s instrument list.
  5. Arm the track for recording (usually a red button on the track).
  6. Play a key. You should hear sound.

If you hear nothing at step 6, the problem is almost always step 3 or step 5. Not the keyboard.

What Actually Goes Wrong: The Failure Modes

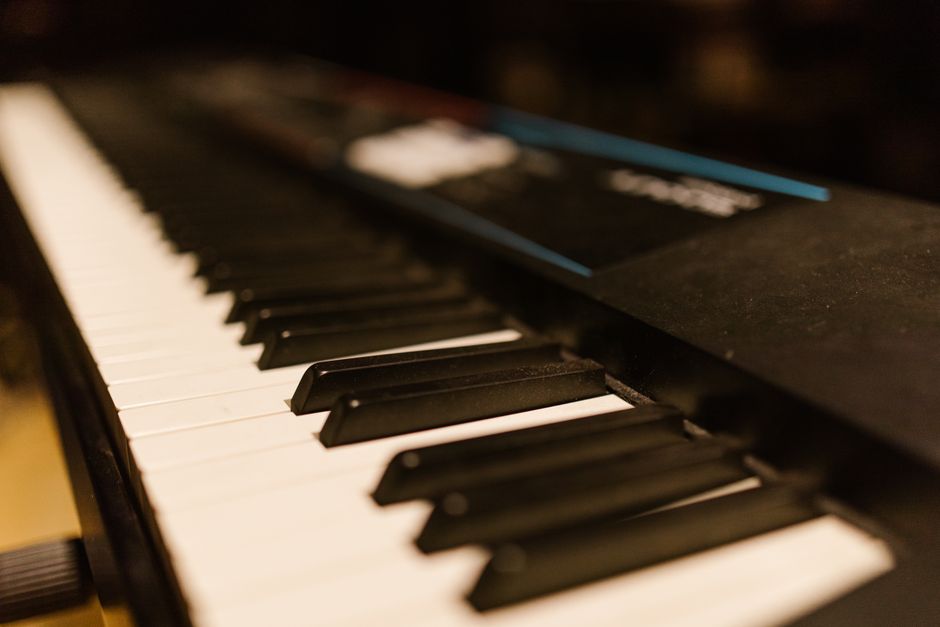
Detailed close-up of piano keys on an electronic keyboard. Perfect for music-related content.

Here’s what nobody tells you before you buy.

Problem What it looks like The actual fix
Charge-only USB cable Keyboard lights up but DAW doesn’t see it Use the cable from the box, or buy a data-rated USB cable ($8–12)
Wrong MIDI channel Some keys work, others don’t, or drum pads trigger wrong sounds Set keyboard to MIDI channel 1, match it in DAW track settings
No virtual instrument loaded DAW sees the keyboard, track is armed, still no sound Load a software instrument on the track — the DAW doesn’t make sound by itself
Driver conflict Keyboard works, then stops after a system update Uninstall old drivers, download current version from manufacturer site, restart
Latency (delay between key press and sound) You play a note, sound comes 100–300ms later Lower buffer size in DAW audio settings (64–128 samples), or install ASIO drivers on Windows

The charge-only cable issue is the most common beginner failure I see. A cable that charges your phone will not necessarily transmit MIDI data. If your keyboard powers on but the DAW doesn’t list it, try a different cable before you return the keyboard.

Latency deserves more attention. On Windows, the default audio drivers are slow. You need ASIO4ALL (free) or the ASIO driver from your audio interface. Set the buffer to 128 samples or lower. At 256 samples, the delay becomes noticeable. At 512, it’s unplayable.

Which Keyboard to Buy in 2026 (And When Not to Buy One)

For a first controller, the Novation Launchkey 37 is the best pick right now. It costs $199, has 37 full-size keys, and includes Ableton Live Lite. The integration with Ableton is deeper than anything Arturia or Akai offers at this price. If you don’t know which DAW you’ll use, the Launchkey works fine with any of them, but it shines in Ableton.

The Akai MPK Mini Plus ($169) is the right choice if desk space is tight. It has 37 mini keys, which feel cramped for two-handed playing but work fine for bass lines, drum programming, and chord stabs. The joystick for pitch and modulation is more fun than wheels.

The Arturia KeyLab Essential 49 ($249) makes sense if you’re leaning toward Arturia’s Analog Lab software — it comes with a huge preset library that sounds genuinely good out of the box. The keybed feels slightly better than the Novation.

Skip anything with fewer than 25 keys. Skip anything without pitch and mod controls. Skip anything that requires proprietary drivers unless you’re on Mac. And if you already have a digital piano with USB MIDI out, you don’t need to buy a controller at all — that piano will work as a MIDI keyboard in any DAW.

Setting Up Your First Playable Session

A vibrant close-up view of a computer keyboard illuminated by red and blue light, emphasizing technology themes.

You’ve got the keyboard connected. The DAW sees it. Now make something that sounds like music, not a keyboard demo.

Start with a piano sound. Not a synth, not a pad — a plain piano. Pianos have a fast attack and a clear decay, which makes it obvious when your MIDI routing is working and when latency is creeping in. In GarageBand, that’s the “Grand Piano” instrument. In Ableton, it’s “Grand Piano” under Instruments. In FL Studio, it’s “FL Keys.”

Record four bars of a simple chord progression. C major, A minor, F major, G major. One chord per bar. Don’t worry about timing — you can quantize later. The point is to confirm that notes are being recorded and played back correctly.

Then switch to a drum kit. Most beginner keyboards have drum pads. Tap out a basic kick-snare pattern. If the pads trigger the wrong drums, check the pad mapping — many controllers let you reassign pad notes in the included software editor. On the Launchkey, that’s Novation Components. On the MPK Mini Plus, it’s Akai MPC Beats.

The goal of this first session is not a finished song. It’s to verify every link in the chain works. Once you’ve recorded MIDI, played it back, and edited a note or two, you’re past the setup phase. Everything after this is just learning the software.

What Nobody Tells You About MIDI Controllers

A sleek, modern office setup with a gaming PC, curved monitor, and accessories, ideal for tech enthusiasts.

Your keyboard will not make you a better musician. It won’t write melodies for you. It won’t fix a weak chord progression. What it does is remove friction between an idea and a recording. That’s the whole value proposition.

If you’re a guitarist who wants to add synth parts to demos, a 25-key controller is enough. If you’re a pianist who wants to record full arrangements, get at least 49 keys. If you’re a beatmaker, the pads matter more than the keys — the Akai MPD218 ($119) has no keyboard at all, just 16 pads, and it’s better for drum programming than any keyboard controller at double the price.

One more thing: MIDI keyboards don’t make sound without a computer. If you want standalone sounds without a laptop, you’re looking for a synthesizer, not a controller. The Korg Volca Keys ($169) or Arturia MicroFreak ($349) are actual synthesizers with built-in sounds. Different product category entirely.

You bought the keyboard because you wanted to make music. The setup takes twenty minutes. The learning curve after that is the real work — and no amount of gear shopping will skip it.